Tools and fabric needed:
1/2 yard fleece for flower
1/4 yard variegated yellow fleece for center
scraps green fleece for leaf
Matching threads
fiberfill
needle
Sewing machine
14" circle (I used a metal serving tray) to trace
rotary cutter and mat (or ruler and scissors)
compass
pencil
scissors
pins
Cut 2-14" circles out of the floral fleece. You can either trace with a pencil around the tray onto the fabric or take a large piece of paper (wrapping paper or similar) and trace and cut it out and then use the paper as a pattern on the fleece.

Cut out two long strips using the width of the fabric 5" wide and 2 long strips 3 1/2" wide.

Fold one of the circles in half and in half again. Then mark the center of the circle as shown.

Using a compass with the sharp point stuck in the center of the circle (I used the mat as a backing when I did this) and the markings on the compass, trace a circle at 1 1/2", 3", 4 1/2" and 6".

Your flower base is ready for the petals. At this point, take the 5" width strip and cut them 3 1'2" wide. You will have a 3 1/2"x 5" long rectangle. You will need to do as many as you can cut out of both strips. Then cut the 3 1/2" wide strips into 3" widths making 3"x3 1/2"rectangles. (I am sorry, I forgot to take a picture until I was almost done with the big petals.)

Take each rectangle and cut a petal shape rounding off the rectangle. If you are not comfortable rounding off each fleece petal, then take a scrap paper and cut it to the size of the rectangle. Fold it in half lengthwise. Make half a petal shape and cut. This will make the petal look the same on both sides. I did this for a while, but it was too fiddly, so I free handed most of the petals.

Now comes the most tricky part. I made a pleat on each 5" petal by folding it in half lengthwise and pinching the fold so that it was just past the halfway point and made the pleat. Hopefully the pictures will be clear enough so you can tell what I did. I then pinned the pleated petal to the outer part of the floral base.


I pinned the petals pleat side up unto the outside circle. Make sure to pin the pleats themselves or they will not stay. I placed the petals right next to each other..

Sew the first row of petals on with the machine sewing the petals on about 1/4" from the edge.

You will sew the 5" petals on the outside two rows and the 3 1/2" petals on the inside 2 rows. You may have to make a few more petals to finish the pillow depending on the size of the pleats. I know I did. Admire your accomplishment!

The center is next. I used a variegated yellow fleece and loved the look. See the variegations! I loved the effect.

I cut this fabric into 2" wide strips and then free handed circles from those strips. I cut them using a rounded pinking shears that my mother-in-law bequeathed to me. Normal pinking shears will work just fine. The free handed nature of the circles made for a nice center. I suspect that I used approximately 60 circles in the center.

Now take some yellow thread on a needle and knot it. Come up from the back on the edge of the center bare circle of the flower base. Take one circle and fold it in half. Take a stitch in the center and stitch to the flower base. Now stitch it again in the same area. You will now repeat this over and over again. I found that it looked better if you took stitches so that the circles were not all going in the same direction.


After you have sewn in the center, it is time to make the leaves. I free handed a leaf that was about 8" long and 4 1/2" wide and cut out 4 total using the pinking shears. I used a straight stitch to sew about 1/4" around the outer edges. I then used my machine's standard zigzag stitch to sew the veins. I started at the bottom and ended at the bottom which means I double sewed each of the veins. You may notice that I did not sew a straight line at the bottom. Instead I slanted it and that made it easier to place on the pillow.

It is time to sew the back to the front and since the front is sooooo big and bulky, the petals need to be pinned to the center. To do this, I just pinned the petals on the outside row to the center making a bundle of petals.

I then pinned the leaves in place so that they would look like the top half of a "Y" when turned right side out. This means they will cross each other when they are pinned. You will also notice that they are almost butted right up to each other.

Now pin the other circle to the flower "bundle". I then sewed the front to the back using a 3/8" seam. I found that the sewing was easier if I sewed the pillow together with the sewed side of the pillow up instead of the back side. I did have to prop the pillow up onto a tall object (in this case a plastic shoebox size container) so that the pillow would stay in place as I sewed. I left about 5" open. With that much bulk, I needed a larger opening than normal to enable turning.


I turned the pillow and then stuffed it to my liking. I pinned the opening closed and then slipstitched it closed.


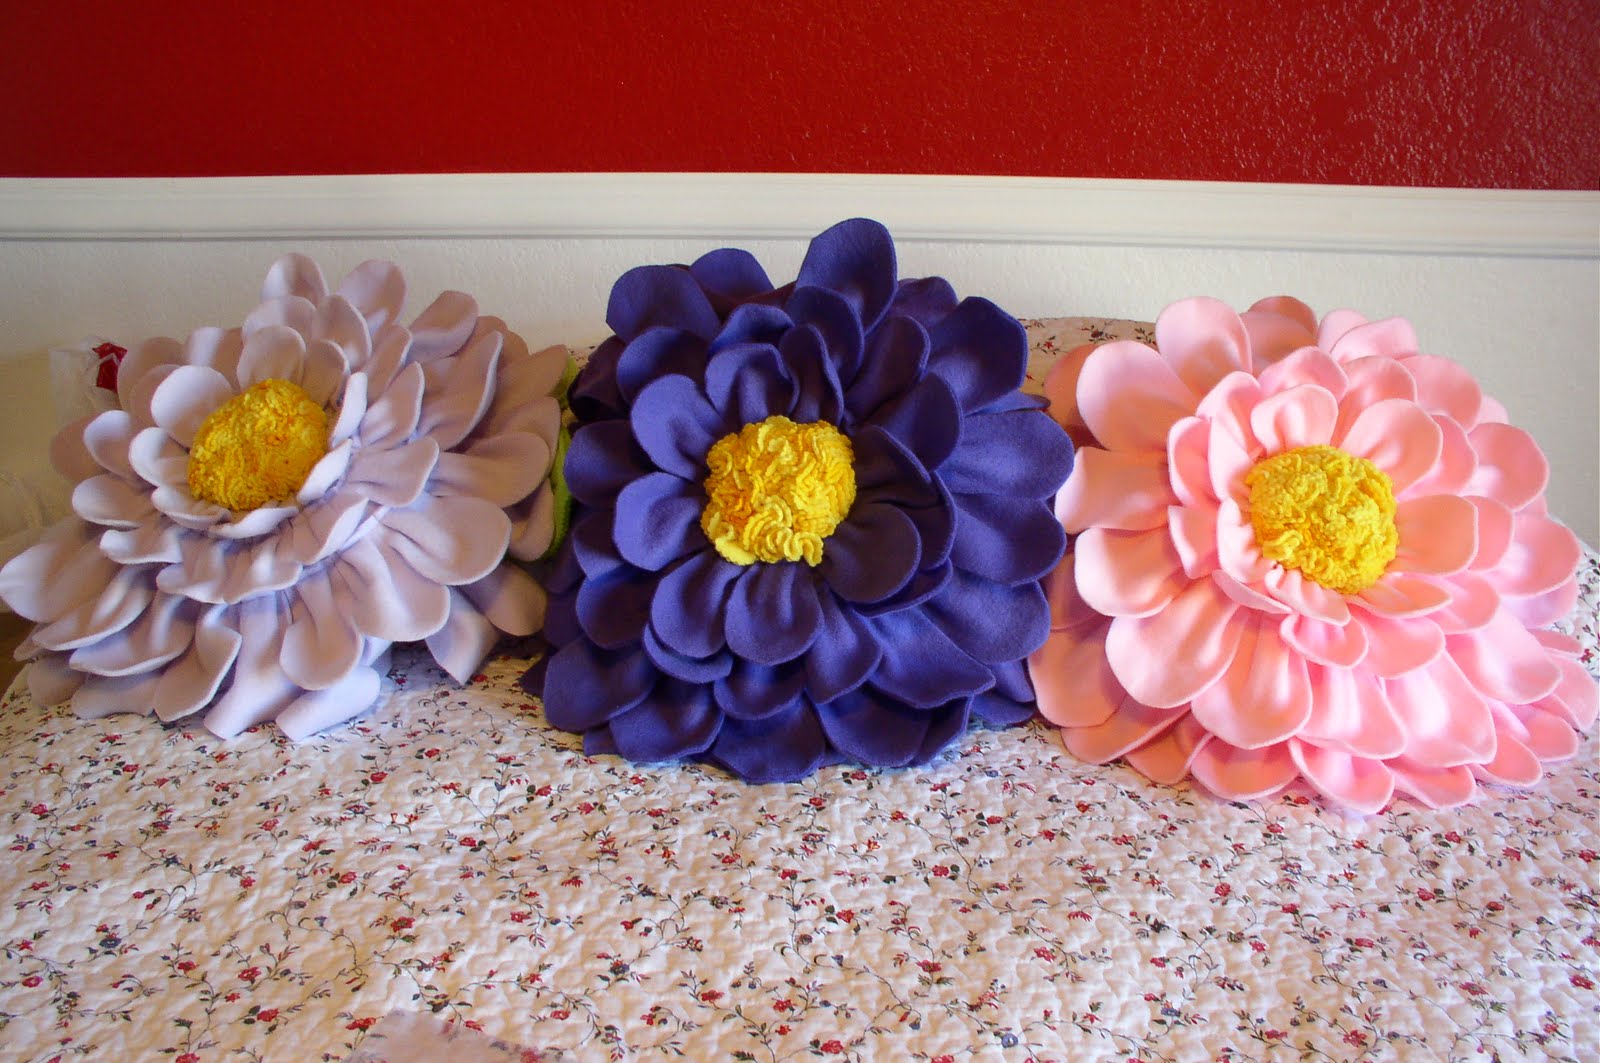
I was finally done. It sure does look nice!

No comments:
Post a Comment